How to Add a Date Picker to your Webflow Form
Learn how to add a customizable date picker to your Webflow form in 30 seconds.
Overview 📚
Adding a date picker into your Webflow forms doesn't need to be complicated, and it certainly doesn't need to be ugly.
That's why we built a beautiful, modern date picker that you can integrate into your own projects.
This date picker uses an attribute that you attach to an input field, so it really couldn't be easier.
To add this into your project, follow the simple steps and add the custom code into your project or page settings.
Instructions ✍️
1. Add the custom code into your page.
Navigate to your project or page settings area and add the custom code into both the <head> and </body> tag area.
We included some of the basic CSS properties so you can easily adjust the color styles to more closely suit your requirements.
This project is built on-top of the wonderfully simple Jquery plugin from Fengyuan Chen (Github).
Read-only Preview (Code in Page Settings)
Add the following style sheet inside the <head> tag of your custom code section
2. Add the js script & custom styles
Add this code inside the before </body> tag of your custom code:
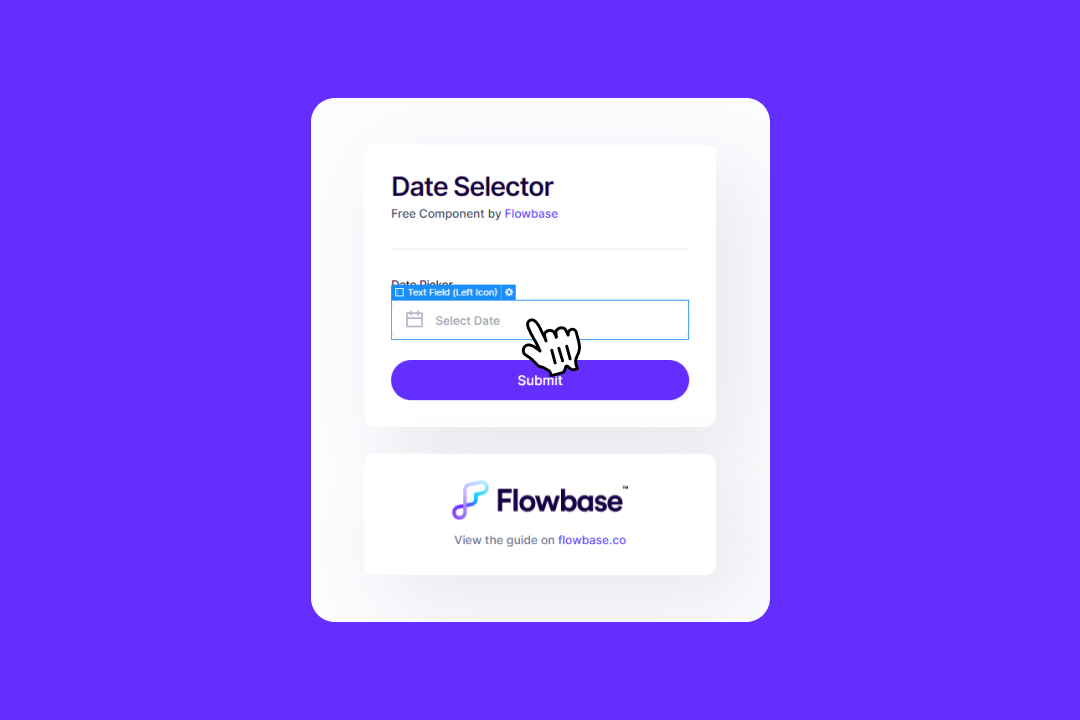
3. Add an Input Field & Custom Attributes
The input field needs to be added into your form section. Once you've added the input, navigate to the settings panel and add the attributes
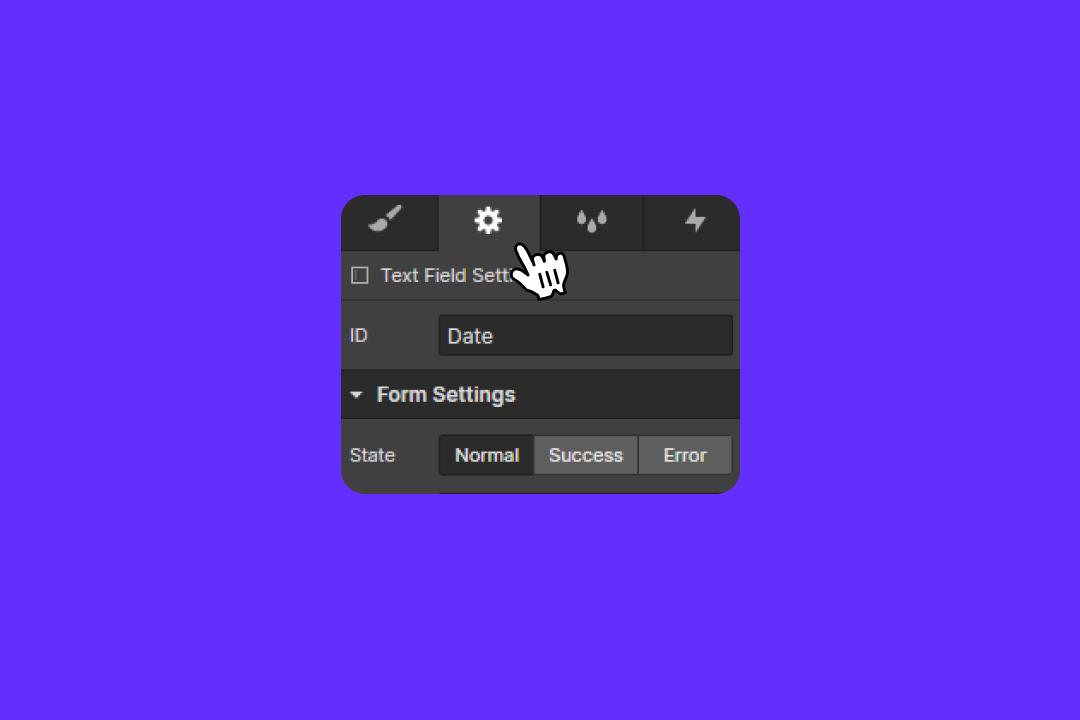
4. Custom Attributes
The input field needs to be added into your form section. Once you've added the input, navigate to the settings panel and add the attributes
- data-toggle - datepicker
- autocomplete - off

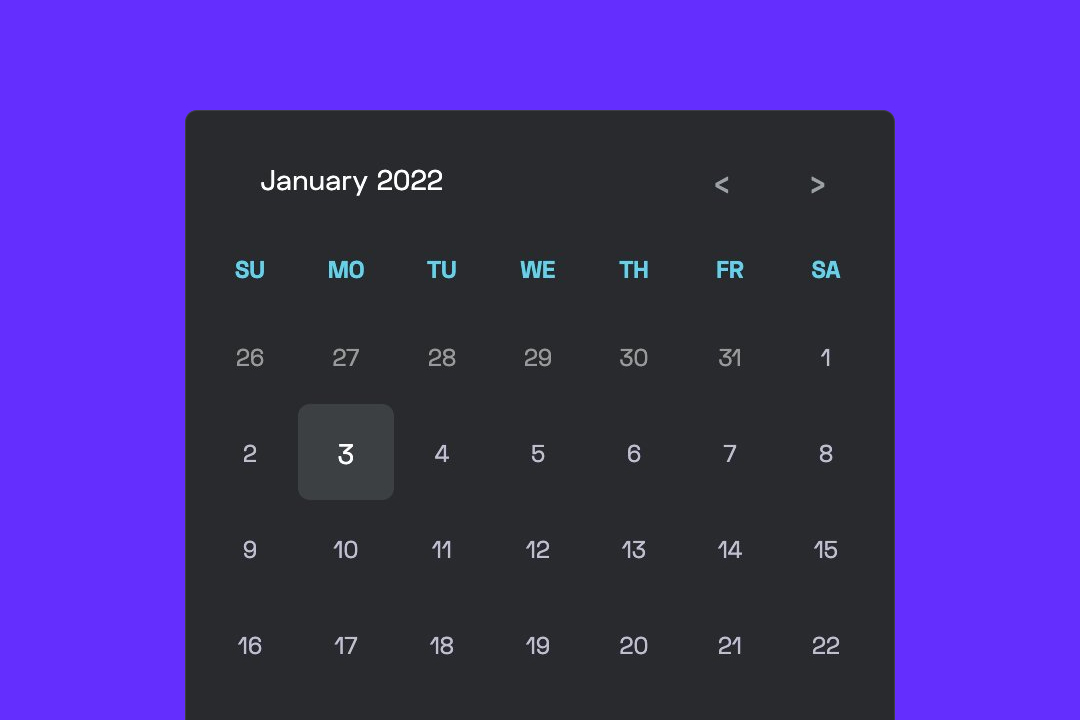
5. Publish & Test
That's it, you can style the css if you are comfortable with that. Remember this will only be visible on your live domain and can't be previewed inside the designer.
6. Update Colours & Date Format
You can easily update the system colors using the first few lines in the styles
--main-light-color: #f3f5fb;
--main-dark-color: #321f59;
--main-active-color: #642eff;
Thanks!
Did you find this useful? 💕
Your support means the world to us! In just 10 seconds, you can make a big difference:
- Join our community Discord Channel.
- Download our Free Webflow Booster App.
- Share what you built with us on Twitter! We re-post to thousands!
Thank you for being awesome! 🌟


Discover unlimited inspiration to help you build better, faster.


Join our community and
claim free products
No Spam. Only sweet content and updates of our products.
Join 100k+ other creators in our community


